
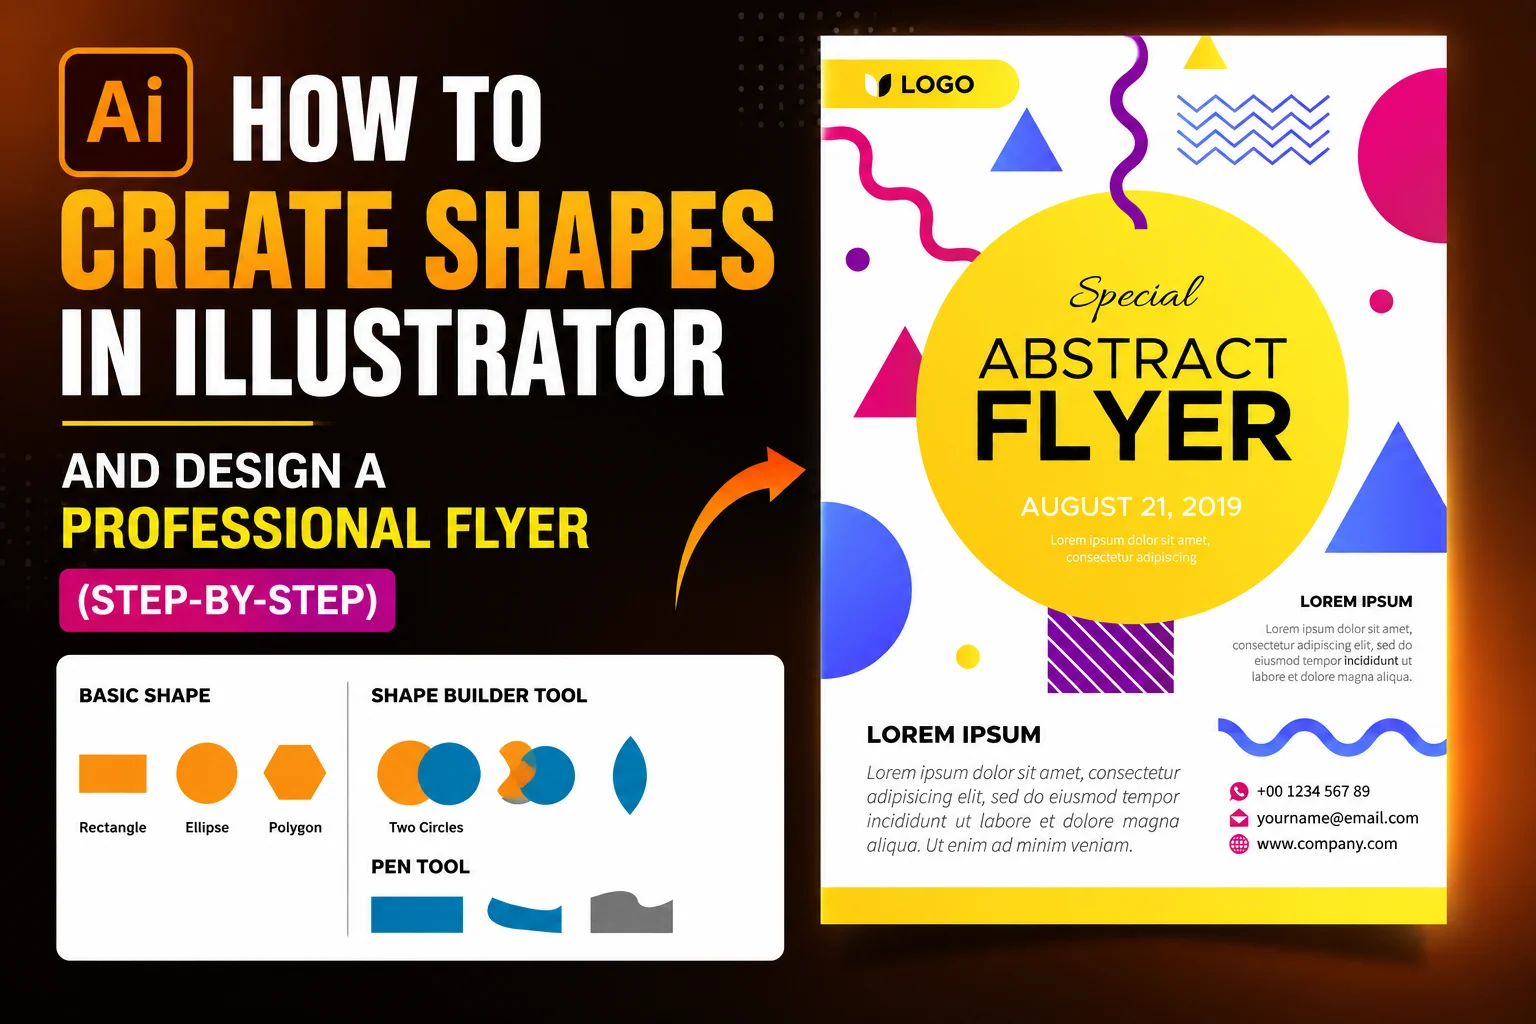
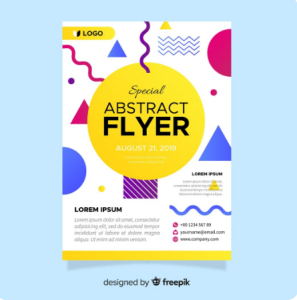
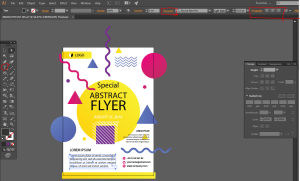
In this post I will show you different ways to create shapes in Illustrator. You will then apply what you learn about shape creation to design the below ready to print flier design.
Table of Contents
What You Will Learn
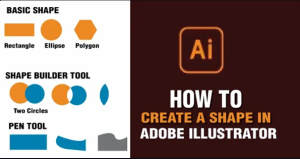
- Creating shapes in Illustrator in 3 easy ways
- Scaling, skewing, and reflecting shapes
- Editing shapes after creation
- Making shapes proportional using Shift and Alt/Option keys
- How to Design a Professional Flyer using Shapes
To better understand this, start with basic shapes before moving to advanced tools like Pathfinder and Shape Builder.
To get a better understanding, we recommend starting with drawing lines or
creating arrows before starting on this. You can use complex tools like the Path
Finder Tool for shapes, but that is covered in a different post.
- Method 1: Using the basic shapes tool
- Method 2: Using the Shape Builder Tool
- Method 3: Using the Pen tool
How to Create Shapes in Adobe Illustrator
Shapes form the base elements of illustrations and can be manipulated to create different designs such as logos, icons, and flyers.
You can use different methods to create any shape you want in Illustrator, including built-in tools like rectangles, circles, polygons, and more.
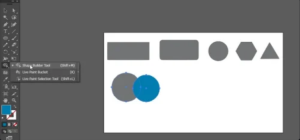
Using the basic shapes tool
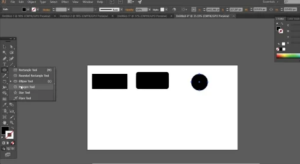
You can create basic shapes using shapes under the Rectangle tool (M). Click
and hold to view the different shape tools: rectangles, circles or ellipses,
rounded rectangles, polygons, star tools, and flare tools.
To create a rectangle, click M, then click and drag on the artboard. If you hold
down the Shift key when dragging, you will get a perfect square instead of a
rectangle.
To create a rounded rectangle, click and hold the rectangle tool to bring up
the rounded rectangle tool. Click and drag to create. Before releasing, you can
click the up and down arrow keys to increase the roundness or sharpness of
the corners.
If you want an ellipse or circle, choose the tool from the drop-down or L. Click
and drag, holding down Shift to create a perfect circle. Holding down ALT
and Shift as you drag draws a circle from the center outwards.
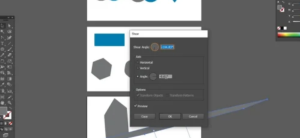
The Polygon tool has no shortcut. Click and drag to create the shape. Holding
down the Shift key ensures 0 rotation on the shape. The up and down arrows
will allow you to reduce or increase or decrease points. To make a triangle,
reduce the number of points to only three.
After creation you can click and drag the nodes on the corners to smooth or
sharpen edges. Alternatively, you can right-click on the nodes and then choose
the type of corner you want.
In case you know the measurement that you want, select the shape tool and
click once on the artboard. A pop-up menu appears showing dimensions. Input
the dimensions you want, and the shape is created.
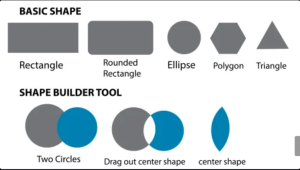
Method 2: Using the Shape Tool to create shapes
You can also use the Shape Builder Tool together with basic shapes such as
rectangles and ellipses to create custom tools. This method is ideal when
making logos or icons.
The method manually merges or removes sections of overlapping shapes to
create custom designs.
Step 1: Draw two circles and make sure they overlap each other.
Step 2: Select both circles. Then choose the Shape Builder Tool from the
toolbar or use the shortcut Shift + M (Windows) or Shift + M (Mac).
Step 3: Click and drag across the areas you want to combine. You will notice
different sections become highlighted as you hover over them. The highlighted
(shaded) areas represent the portions that can be merged.
If you want to remove an area instead of combining it, hold down the Alt key
(Windows) or Option key (Mac) and click on the section you want to delete.
The Shape Builder Tool is extremely powerful and allows you to create custom
shapes, icons, and even logo designs depending on your creativity.
Method 3: Using the Pen tool
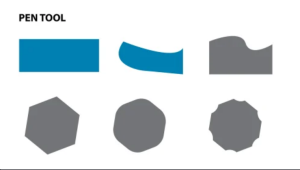
The Pen Tool can help create custom shapes. It offers full control of anchor
points and curves. You can use it to create custom illustrations, icons, and logo
designs.
Step 1: Select the Pen Tool from the toolbar (shortcut P on your keyboard).
Step 2: Click once on the artboard to create your first anchor point. For a
straight line, click in another area to create a second anchor point. For a curve
click and drag instead of just clicking. This will create handles that control the
curve direction and smoothness.
Step 3: Click on the first point to close the shape, then fill with color or stroke.
You can use the direct selection (A) tool to select a single point. To edit points
either to curves or delete them, click and hold the Pen tool and select options.
How to Scale Shapes in Illustrator
Select the object and then hover on the corners until you see a double-sided
arrow. Click and drag it outward or inward to scale. Holding down Shift as you
drag shapes are scaled proportionally from the corner. Holding down the ALT
key makes the object scale from the center.
You can also scale with the Scale tool (S). Click and drag with the Scale tool
selected. The reference point is at the center of the shape by default.
You can drag the reference point such that the shape scales with reference to
the point. If you ALT-click on the anchor point, a dialogue box appears showing
measurements that you want to scale.
The scale tool has a skew or shear tool underneath. Click and hold to choose it.
You can also rotate, skew, shear, reflect, or scale using the transform.
Right click on the shape and choose transform. Go to one of the options, such
as Scale, and a pop-up appears. Enter dimensions.
How to create a stroke or fill color
You can either add color fill or strokes. Strokes can have different stroke
weights and options. To change fill color to stroke, select the shape and click
the invert color arrow and vice versa. We will explain how to change the fill or
stroke color or the stroke elements in the next post.
Simple Steps to Create This Flyer in Illustrator (Using Shapes)
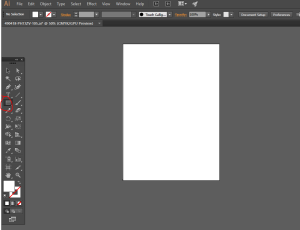
Step 1: Set Up Document – Open Adobe Illustrator then go to File > New (Ctrl + N). Choose A4 or a custom size depending on your flyer dimensions. Go to File>Dociment Color Mode and choose either CMYK or RGB. If the final design will be used online or on digital screens, choose RGB. If you intend to print it choose CMYK option.
Step 2: Create Background – Select the Rectangle Tool (M) and draw a rectangle covering the entire artboard. Apply a light background color then lock the layer using Ctrl + 2 to avoid moving it accidentally while designing.
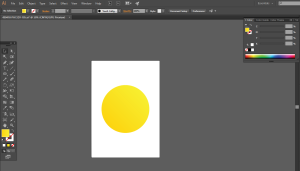
Step 3: Add Main Circle – Choose the Ellipse Tool (L) and hold Shift while dragging to create a perfect circle. Fill it with a bold color like yellow or orange and place it in the center of the layout using the Align Panel (Shift + F7).
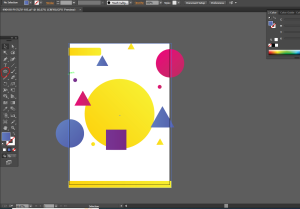
Step 4: Add Decorative Shapes – Use the Rectangle Tool (M) to create squares and blocks, the Ellipse Tool (L) for circles, and the Polygon Tool for triangles. Adjust sizes and colors to create a modern design style. Duplicate shapes quickly using Alt + Drag or repeat transformations with Ctrl + D.
Step 5: Add Curves or Waves – Use the Pen Tool (P) to draw smooth custom curves or use the Line Segment Tool (\) with thick stroke settings and rounded caps for wave effects. Open the Stroke Panel through Window > Stroke to adjust the appearance.
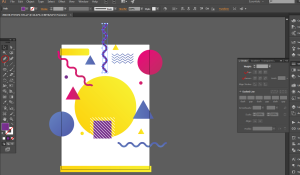
Step 6: Add Text – Select the Type Tool (T) and add your flyer title, event details, contact information, and other important text. Use bold fonts for headings and readable fonts for smaller details. Open the Character Panel with Ctrl + T and resize text using Ctrl + Shift + < or Ctrl + Shift + >. To align text box, use the paragraph panel on top menu.
Step 7: For Printinting purpose, add a 3mm bleed. Click File>Document Set up or shortcut (Ctrl +ALT+ P) and add 3 mm bleed all round.
Step 8: Export Flyer – Go to File > Export > Export As and choose your preferred format. Export as PNG for web and social media, PDF for print, or JPEG for quick sharing. Use Alt + Ctrl + E for Export for Screens. Your flyer is now ready for publishing or printing.
Related Post
Frequently Asked Questions
What is the easiest method to create shapes in
Illustrator?
The easiest way is by using the basic shape tools such as the Rectangle
Tool (M) and Ellipse Tool (L). These allow you to quickly create squares,
circles, and other standard shapes.
How do I create a perfect square or circle?
To create a perfect square or circle shape, hold down the Shift key while
dragging to keep proportions consistent. Also hold down the ALT or
Option key on Mac to scale from the centre outwards.
Can I edit shapes after creating them?
Yes. You can edit shapes using Direct Selection Tool, Shape Builder Tool, and Pathfinder.
What can you use to create custom shapes in Illustrator?
To create fully custom shapes, we recomend using the Pen tool. If you want to combine shapes consider using the Shape Builder tool.