
Making a Gradient in Illustrator is an effective way to add depth, dimension, and a modern visual style to your designs. They are commonly used in logos, posters, social media graphics, and digital illustrations to create smooth color transitions and enhance visual appeal.
Table of Contents
You already knowhow you can convert a colored object to black and white look. A gradient is not a Solid color. It transitions from one color to another on the same object.
In this tutorial, you will not only learn how to apply gradients to vector shapes and objects, but also how to use them on fully editable text. By the end, you will be able to create reusable gradient text styles that can help speed up your design workflow.
At the end of this post, I will show you how I apply gradients to create a Landing page design with a colourful background from scratch. Below is the design that we will be making.

Method 1: How to Make a Gradient in Illustrator for Shapes
This is the easiest and most reliable way to learn how to make a gradient in Illustrator.
Step 1: Create a New Document: Open Illustrator and press Ctrl + N (Windows) or Cmd + N (Mac). Choose an artboard size depending on your project (e.g., Instagram post, logo, A4 design).
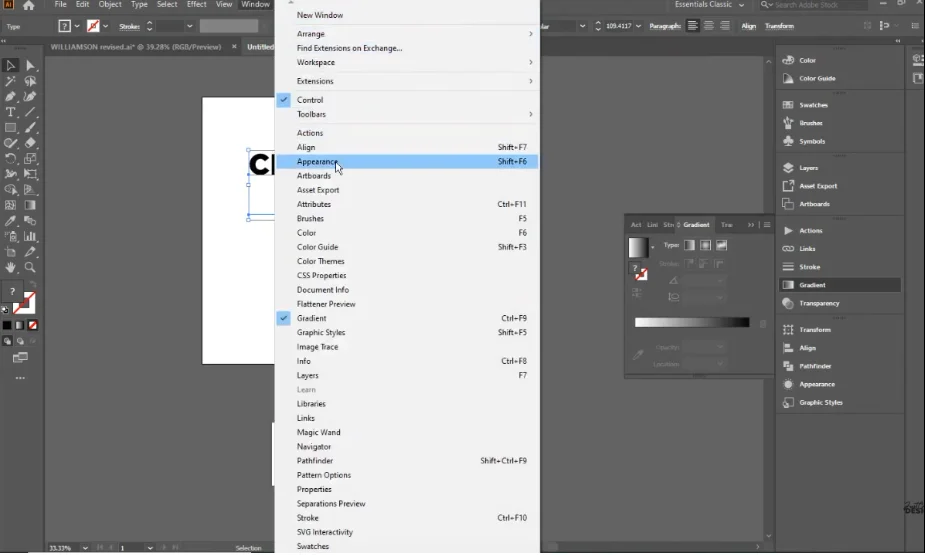
Step 2: Set Up Your Workspace. Enable these panels, Window → Gradient, Window → Appearance and Window → Swatches. These tools give you greater control over gradient colors, direction, and appearance
Step 3: Create a Shape. Select the Rectangle Tool (M) or Ellipse Tool (L) and draw a shape.
Step 4: Apply a Basic Gradient. Select your shape using the Selection tool (V). Open Gradient Panel. Click “Apply Gradient”. The default black-to-white gradient appears. Now you’ve successfully made a basic gradient in Illustrator.
Step 5: Adjust Gradient Direction. Select the Gradient Tool (G) and drag across the shape.with this tool you can control the Flow direction, Gradient smoothness and color balance.
If you want to add your gradient to text using this method, you must first change the text to outlines by clicking Shift+Control+O on PC keyboard. The you can add the gradient. However, this text is not editable.
Method 2: How to Add a Gradient to Editable Text in Illustrator
This is one of the ways I apply templates to speed up my design workflow. Most beginners usually have a challenge creating gradient texts that they can change to any custom text in future.
It is important to note that Illustrator treats live text and shapes differently when adding gradients. You might have noticed that adding gradients to text directly does not work and only turns all the text black.
Many designers convert text to outlines to apply gradients, but doing so removes the ability to edit the text later. However, there is a way you can add gradients and retain editability.
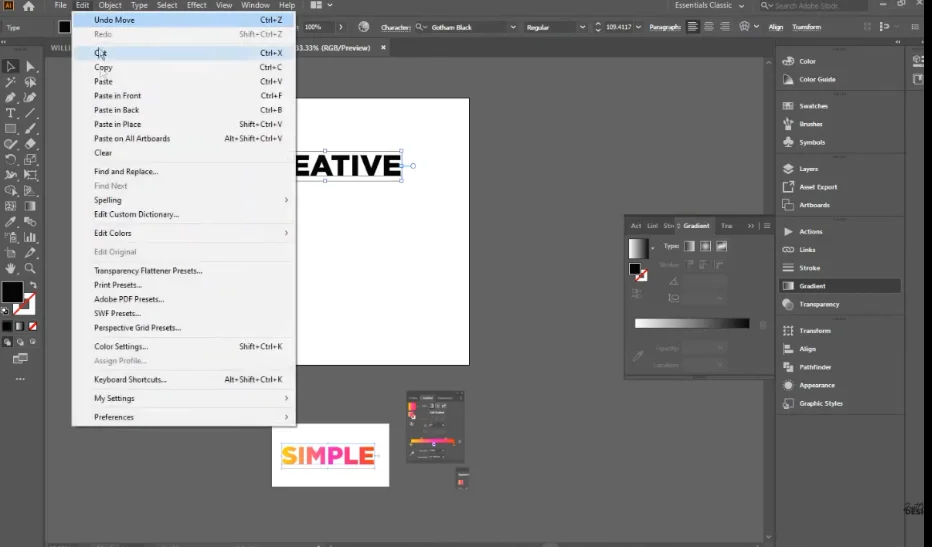
- To create an editable gradient text, create the text using type tool (T).
- Duplicate the Text you have just created by clicking Ctrl + C → Ctrl + V. To paste in place, click Ctrl + C → Ctrl + F.
- Remove Fill on One Copy. Select one text version using selection tool (V) and remove its fill. You now have one normal text (for comparison) and one gradient-ready text
- Open the Appearance Panel by going to Window → Appearance. Choose the Add New Fill option and set a base color (optional black).
- Select the new fill layer and open the Gradient Panel. Choose Linear or Radial gradient. Adjust colors and angles. Now your text has a proper gradient AND remains editable. This method ensures that you can change the words, font and gradient at any time.
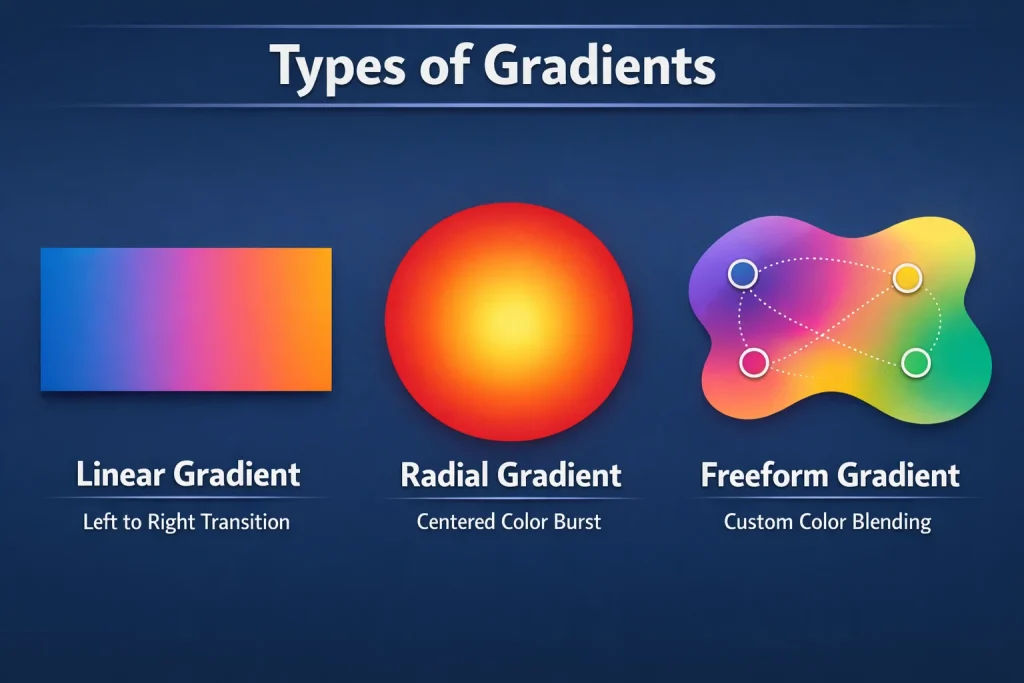
Types of Gradients in Illustrator
You can use Illustrator to create 3 main gradient types depending on orientation and style you choose.
- A Linear Gradient is made of colors transitioning in a straight line, usually from left to right. This is the most common gradient type.
- A Radial Gradient is made of colors radiating outward from a central point or a circular motion.
- Freeform Gradients allow you to place color points manually, giving you greater control over complex color blends and transitions.
Understanding the Gradient Tool in Illustrator
Before you learn how to make a gradient in Illustrator, you need to understand the tool itself. The Gradient Tool and Gradient Panel work together to control how colors transition across an object.
The Gradient Panel can be opened from Window → Gradient, while the Gradient Tool can be activated by pressing G on your keyboard.
Inside the gradient panel, you control the gradient type either linear or radial, color stops and opacity, angle and direction. This panel is your control center for everything gradient-related.
Conclusion
Mastering how to make a gradient in Illustrator gives you a powerful advantage in modern design workflows. Once you understand both shape-based and editable text gradients, you can create professional visuals with ease.
Shapes are simple, but editable text requires the Appearance Panel approach to maintain flexibility. With practice, gradients become a core part of your design identity, helping you build more polished and visually engaging artwork.
How I used Gradients to Design a Modern Landing Page
- Open Illustrator and go to File>New and set up project specs on the pop up menu.
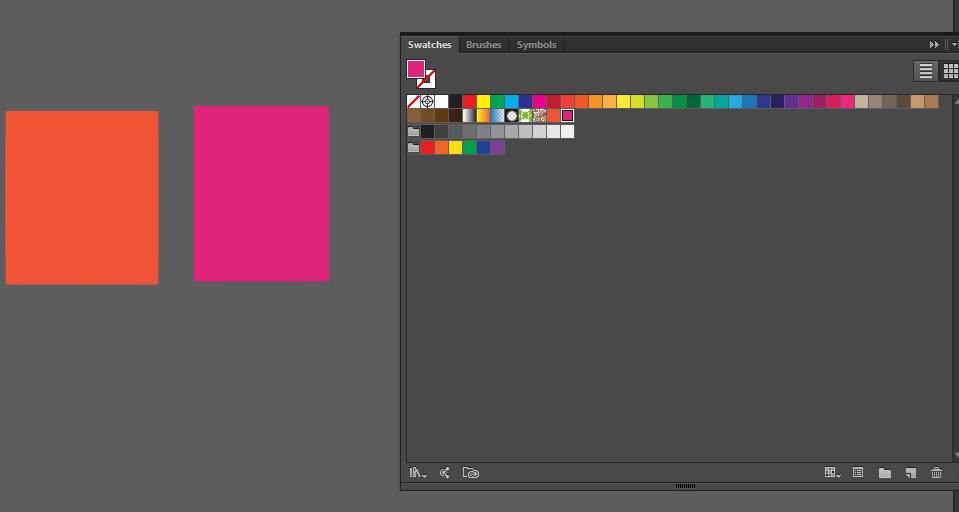
- Go to Window>Swatches to open swatch panel so that you save the color shades.
- Choose the rectangle tool (M) and create 2 small rectangles. Set them to two different colors as per the gradient you want. I used these color codes for the design: Orange: #F05537 (R 240, G 85, B 55) and Pink: #DE257A (R 222, G 37, B 122)
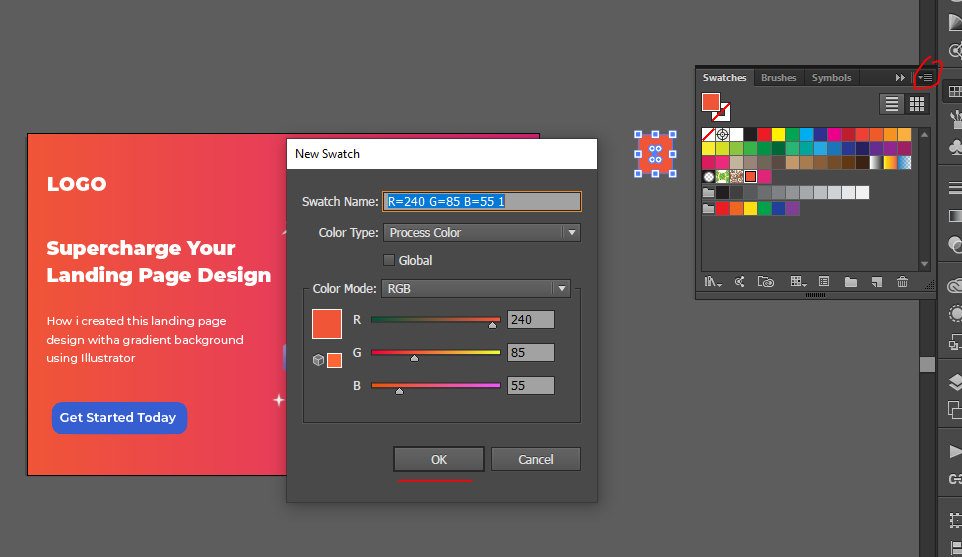
4. With one selected, go to the sawtches panel and click the 3 lines on top right corner. Choose New Swatch and the color is added to swatches list. Do the same for the other color too.
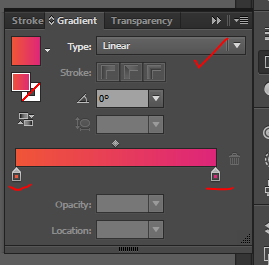
5. Choose rectangle tool and create the background rectangle same size as artboard. With the rectangle selected, choose Window>Gradient. Click the default white to black gradient.
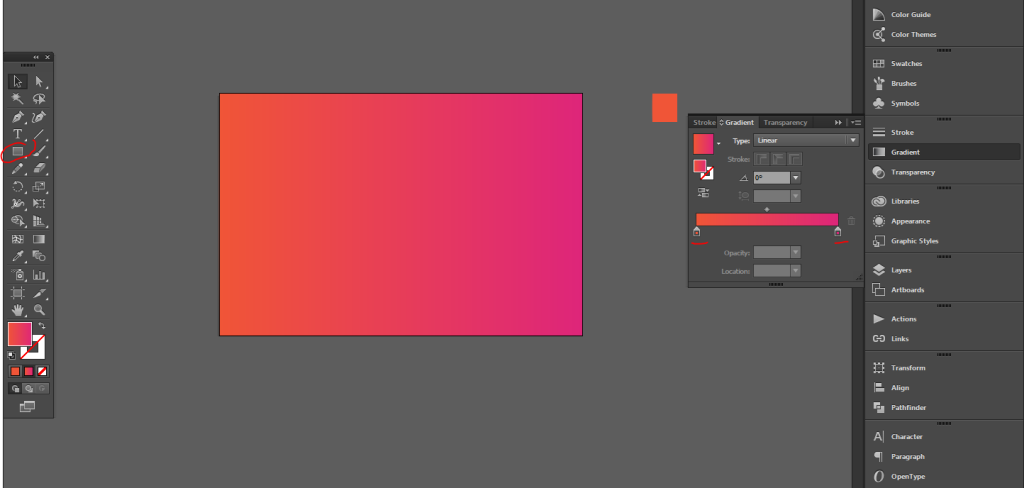
6. Click on the nodes and choose the colors from the swatch panel. You can set the gradient elements from the gradient pop up menu. You can choose a linear or Radial gradient, gradient color opacity for each node and more.
7. Once happy with the background use the Text tool (T) to type the text respectively. Use different font weights and sizes for a cool look. Finally add the image and align everything.

8. Use the rounded rectangle tool (M) to create a button in a contrasting color. I will use blue and white text. Drag the shape and use up and down arrow keys to make sure the button corners takes shape. This is the final design.

Related Post:
- Adding Bleed area in Adobe Illustrator
- How to Enable Graphics Processor Support in Photoshop
- Warp and Curve Text in Illustrator
Frequently Asked Questions
Can I add a gradient to text in Illustrator without converting it to outlines?
Yes. You can apply a gradient to live text using the Appearance Panel. This allows you to keep the text fully editable while still using gradient effects.
What is the difference between a linear and radial gradient in Illustrator?
A linear gradient transitions colors along a straight line, while a radial gradient transitions colors outward from a central point in a circular pattern. Linear gradients are commonly used for backgrounds and text, while radial gradients are useful for creating highlights and depth.
Why is my gradient not showing in Illustrator?
If your gradient is not appearing, ensure that the object is selected and that you are applying the gradient to the Fill rather than the Stroke. Also check that the Gradient Panel is open and that the object is not locked or hidden.